How Do You Adjust a Skinny Jeans Pattern for a Perfect Fit?
- Share
- publisher
- Jimy
- Issue Time
- Oct 23,2025
Summary
Discover expert tips on adjusting your skinny jeans pattern for a flawless fit. Transform your sewing skills and achieve the perfect silhouette today!
You have a pattern, but it does not fit right. Cutting fabric feels like a huge risk. Master a few key adjustments to transform that pattern for a perfect fit.
To adjust a skinny jeans pattern, focus on key areas. Perform a flat seat adjustment to remove bagging, alter the inseam at designated lines, and use your printer’s custom scale setting to resize the entire pattern.
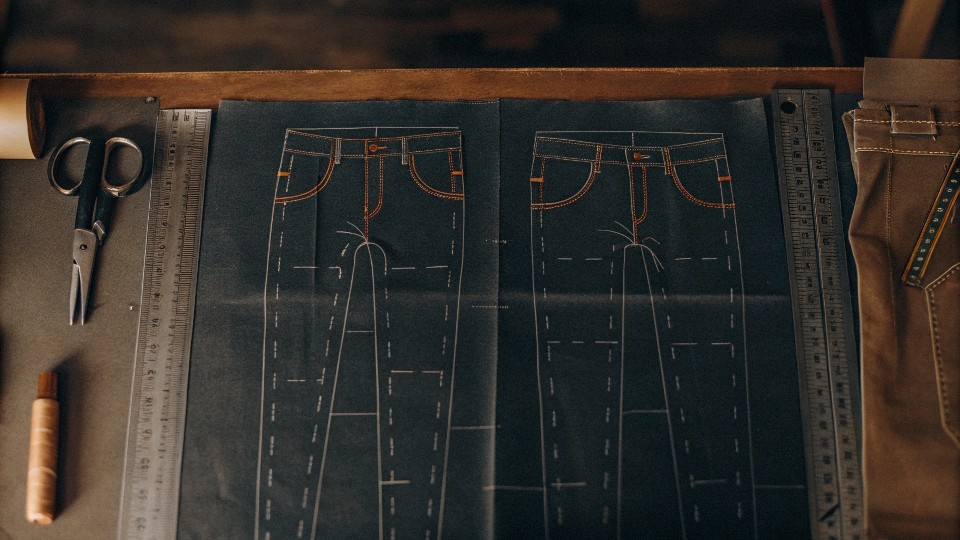
In my factory, designers like Dean often send us patterns that are 90% there. That last 10% is where the fit is perfected. It is all about tweaking small details to create a flawless garment. These adjustments are not just for big brands with dedicated pattern makers. They are essential skills for anyone wanting to create professional-looking jeans. Let’s break down the most common changes you will need to make to get that perfect skinny jean silhouette.
What Do Gen Z Wear Instead of Skinny Jeans?
You are designing for a younger market, but skinny jeans feel outdated. Sticking to old trends means your designs will not connect with Gen Z buyers. Embrace looser, more relaxed fits.
Gen Z prefers comfort-driven, looser silhouettes. Top styles include baggy or wide-leg jeans, high-waisted mom jeans, functional cargo pants, and flared or bootcut cuts. These reflect a shift towards relaxed, 90s-inspired fashion.

We have seen this shift firsthand at DiZNEW. For years, the production line was filled with skinny and slim-fit jeans. Now, the orders we receive are for much wider and more relaxed silhouettes. The focus has moved completely from form-fitting to comfort and individual expression. It’s not just about the cut; the fabric choice is different too. While some styles still use denim with a little stretch for comfort, many of the baggy and straight-leg styles are made from 100% cotton rigid denim. This gives the jeans a more authentic, vintage feel that this generation loves. The inspiration comes heavily from the 90s and early 2000s, but with a modern update.
| Jean Style | Key Features |
| Baggy/Loose-Fit | High-waisted, wide leg, roomy through the thigh. |
| Mom Jeans | High-rise, looser hip and thigh, tapered ankle. |
| Cargo Jeans | Utility pockets, straight or slightly tapered leg. |
Flare/Bootcut | Fitted thigh, flares out from the knee down. |
What Is a Flat Seat Adjustment?
Your jeans seem to fit well, but the back sags or gaps at the waist. This excess fabric ruins the clean lines of the design, making it look poorly made.
A flat seat adjustment is a pattern alteration that removes excess fabric from the back of the pants. It is for people with a flatter posterior. This change prevents waist gaping and sagging.
This is one of the most common and important adjustments we make. A small change on the paper pattern makes a huge difference in the final fit. Excess fabric in the seat area is a classic sign that the pattern’s curve is too pronounced for the wearer’s body. The flat seat adjustment corrects this by shortening the length of the back crotch curve, which pulls the fabric in for a snugger fit.
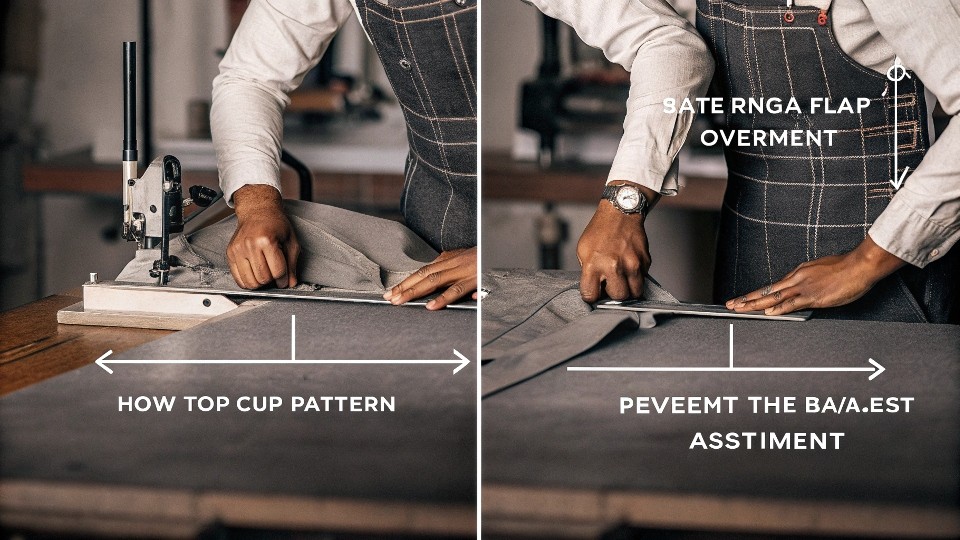
How to Perform the Adjustment
Draw a Line: On your back pattern piece, draw a horizontal line across the seat. This should be a few inches below the waistband.
Cut the Pattern: Cut along this line from the side seam toward the center back. Stop about a quarter inch before the edge, leaving a small paper hinge.
Overlap: Pull the top piece down to overlap the bottom piece. A small adjustment of ¼ to ½ inch is usually enough. Tape it in place.
Redraw the Seams: The overlap will create a jagged edge. Use a curved ruler to smooth out the side seam and the center back seam. This blending is critical for a professional finish.
How Do You Adjust a Pattern’s Length?
Your pattern is almost perfect, but the legs are too long or the rise is too low. Just chopping off the bottom ruins the intended shape and proportions of the leg.
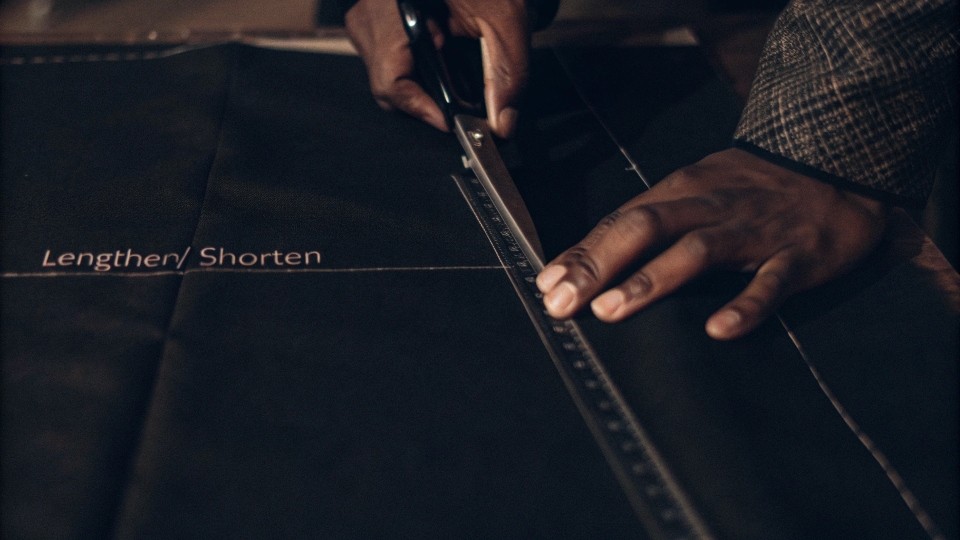
Use the designated “lengthen/shorten” lines printed on the pattern. Cut along these lines to make accurate adjustments. This method changes the length without distorting the overall design.
A well-drafted pattern is designed with specific proportions. If you just trim the hem, you might lose the intended shape of the ankle opening, especially on a skinny or tapered style. The correct method ensures the entire leg keeps its intended silhouette. We do this all the time for clients who need to offer different inseams like short, regular, and long.
Adjusting the Inseam (Leg Length)
The “lengthen/shorten” line is usually located somewhere between the crotch and the knee. This spot is chosen because it has the least amount of shaping.
To Shorten: Cut along the line and overlap the two pieces by the amount you need to remove. Tape them together and redraw the side seams to make them smooth.
To Lengthen: Cut along the line and separate the two pieces. Tape a piece of paper underneath the gap. Spread the pattern pieces by the amount you need to add, making sure the grainline stays aligned. Redraw the side seams to connect them smoothly.
Adjusting the Rise
The rise is the distance from the crotch to the waistband. To change it, you adjust the top of the pattern.
To Lengthen (Higher Rise): Add height evenly to the top edge of both the front and back pattern pieces.
To Shorten (Lower Rise): Trim height evenly from the top edge of both pieces.
How Do I Resize a Pattern for Printing?
You downloaded a digital pattern, but printing it at the correct size is confusing. Printing without checking the scale could result in a pattern that is way too big or small.
To resize a digital pattern for printing, always print the test square first. Then, use the “Custom Scale” option in your PDF reader’s print settings to enter a percentage and adjust the overall size.

This step is absolutely critical. In my factory, before we print a full marker to cut dozens of layers of denim, my team always verifies the scale of the digital pattern. A tiny 1% error does not sound like much, but over the length of a pant leg, it can completely change the fit and grading. For you at home, this simple check saves you from wasting paper, ink, and fabric.
Using the Test Square
Almost every PDF pattern includes a small square on the first page, usually 1x1 inch or 5x5 cm.
Print only the page with this square first.
Use a ruler to measure it.
If it measures correctly, your printer settings are fine. You can print the rest of the pattern.
If it is wrong, you need to adjust your settings.
Adjusting the Print Scale
In your print dialog box (like Adobe Acrobat), look for “Page Sizing & Handling.” Do not use “Fit” or “Shrink.” Select “Custom Scale” and set it to 100%. If your test square was too small, you might try 101% or 102%. If it was too big, try 99% or 98%. Print the test square again until it is perfect.
Conclusion
Mastering pattern adjustments like the flat seat, length, and print scaling is key. These small changes ensure your skinny jeans pattern translates into a perfectly fitting final garment.